How to fix Minecraft OpenGL errors on Windows
OpenGL is a graphics API that acts as a bridge between the software used to play Minecraft and the graphics hardware. It provides a standardized way to display 2D and 3D graphics on the screen. However, for some reason, if OpenGL doesn't work properly, you'll likely encounter errors in Minecraft.
If you encounter an OpenGL error in Minecraft, this is the place to go. In this article, we will discuss this error in detail and suggest solutions that you can use to fix it.
recommend:How to fix the Err_Connection_Timed_Out error in Windows Google Chrome
What causes Minecraft OpenGL errors on Windows?
Even with the best operating system at your disposal, you might still encounter OpenGL errors in Minecraft. This error primarily occurs when there are problems with OpenGL, a library used for rendering games and applications. Other possible causes for this error include:
- Outdated or corrupt graphics drivers
- In-game settings error
- Unnecessary modules
- Deprecated Java files
Fortunately, fixing this bug in the game is very easy. Try the following fix to permanently resolve this issue.
1. Download the latest graphics card driver update.
The first thing you must try to fix OpenGL errors is to download the latest graphics driver update. Outdated or corrupt graphics drivers have proven to cause a variety of problems, including the ones at hand.
Therefore, please ensure that your graphics driver is updated regularly to ensure that your applications and games function properly. Here are the methods for updating your graphics driver:
- according to win + X Hotkey to open Power Menu.
- choose Equipment Management From the context menu.
- double click Display adapter Expand it.
- Right-click the installed graphics driver and then select Update drivers From the context menu.

How to fix Minecraft OpenGL errors on Windows
- Click Automatic driver search The options in the window that appears.
- Windows will now download and install the latest graphics driver update on your system.
After installation, restart your system for the changes to take effect.
You can also use the driver update tool for Windows to download the latest driver updates to your system.
2. Disable unnecessary modules
One of the main reasons for Minecraft's popularity is the option to install mods. You can add different modes to Minecraft to optimize its performance and explore new worlds. However, sometimes certain mods can break the game instead of improving its performance.
Therefore, please ensure you only install necessary mods in the game. You can uninstall mods in Minecraft by following these steps:
- Open the Run dialog box and enter... %Application Data% And press Enter.
- choose Minecraft Folder.
- Open Module Folder.

- Right-click the module you want to delete and select delete From the context menu.
- You can uninstall all mods at once by deleting the mods folder itself.
After deleting the mod, restart the game and check if you still encounter the error.
recommend:How to record games using Intel Graphics Command Center
3. Remove shaders from Minecraft
Shaders are graphics modules that enhance the overall look of your Minecraft world. These shader packs add gorgeous lighting, realistic shadows, beautiful oceans, and much more to the game. However, over time, shader packs can become corrupted for various reasons, leading to different problems, including OpenGL errors.
In this case, the solution is to remove the problematic shader package from the game. To do this, follow these steps:
- In the "Run" dialog box, type %Application Data% And press Enter.
- navigation .Minecraft > resource pack > Shader package.

- Right-click the installed shader package and select delete From the context menu.
4. Temporarily disable advanced OpenGL in Minecraft
As mentioned earlier, OpenGL helps provide optimal game performance. Most games (including Minecraft) have this feature enabled by default. However, sometimes it doesn't work well with certain graphics drivers, leading to various problems, including the one at hand.
As a solution, you must disable Advanced OpenGL features in the game. That's it:
- Open Minecraft on your computer.
- Click Options The button on the homepage.
- choose Video settings.

- Scroll down and disable the toggle next to it. Advanced OpenGL.
- Click complete Save your changes.
Restart the game and check if you encounter any errors.
5. Adjust in-game settings
OpenGL errors in Minecraft may be caused by incorrect in-game settings. You can resolve the issue by changing these settings.
- Open Minecraft, then navigate to... Options > Video settings.
- Change Graphics, Soft lighting, Vertical synchronization, and GUI scaling settingsSettings may vary between different computers; therefore, you can switch between different options and choose the one that solves your problem.

After changing the settings, restart the game and check if the problem persists. If so, try the next solution in the list.
6. Update Java version
Minecraft is a game that is highly Java-based. Therefore, it is essential to install the latest version of Java on your computer to play the game smoothly.
To update Java on your system, open your browser and visit the Java update website. Then, download and install the latest version of Java on your computer.
recommend:How to post private videos on TikTok
7. Reinstall Minecraft
If you are still encountering OpenGL errors, it is very likely that there is a problem with the game's installation files. In this case, the only solution is to reinstall the game.
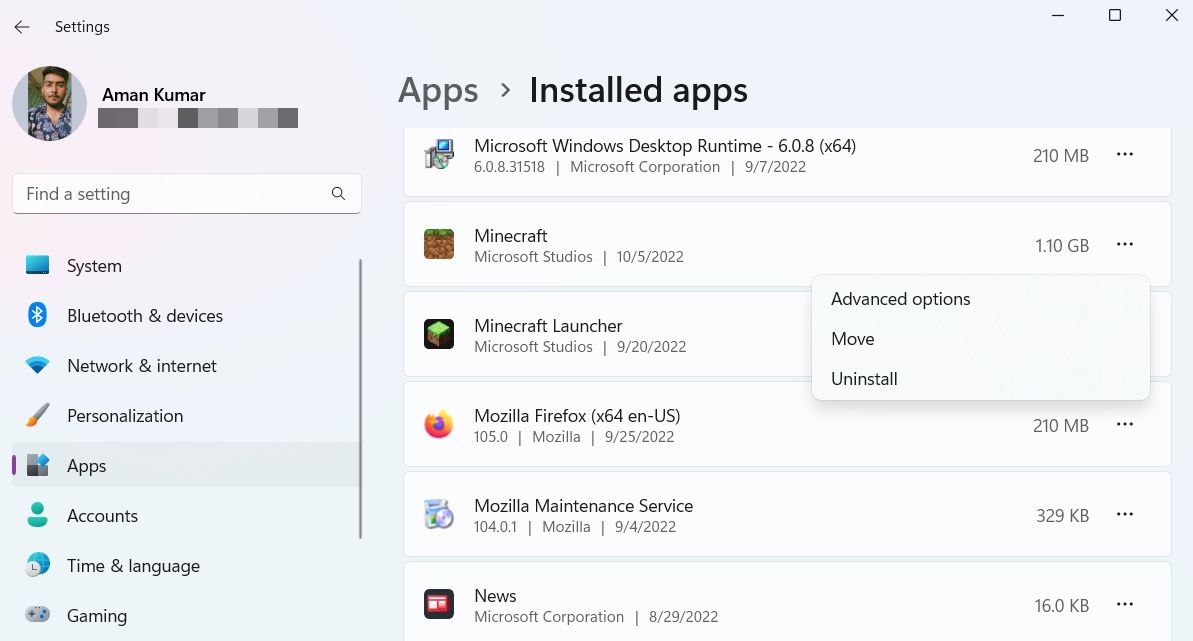
To reinstall the game, open the "Settings" menu and navigate to... application > Installed applications. position Minecraft Then click Three points Next to it. choose uninstall From the context menu. Click uninstall The pop-up window appears again.
After uninstalling Minecraft, restart your system to delete all temporary files. Then, open your browser, visit the official Minecraft website, and download the game to your computer.
Minecraft OpenGL bug, now fixed.
Even nearly a decade after its release, Minecraft remains incredibly popular among gamers. But like any other game, it's not without its problems. One of the most talked-about issues recently is an OpenGL bug in Minecraft. Fortunately, you can quickly resolve this problem by following the fixes described above.
Sometimes, games may continue to crash on your computer. In such cases, understanding the cause and solution is crucial.